
|
|
 |
|
|
|
Welcome to the Australian Ford Forums forum. You are currently viewing our boards as a guest which gives you limited access to view most discussions and inserts advertising. By joining our free community you will have access to post topics, communicate privately with other members, respond to polls, upload content and access many other special features without post based advertising banners. Registration is simple and absolutely free so please, join our community today! If you have any problems with the registration process or your account login, please contact us. Please Note: All new registrations go through a manual approval queue to keep spammers out. This is checked twice each day so there will be a delay before your registration is activated. |
|
|||||||
| The Pub For General Automotive Related Talk |
 |
|
|
Thread Tools | Display Modes |
|
|
#1 | ||
|
Starter Motor
Join Date: Nov 2011
Posts: 27
|
Hi All, I'm not sure if this is the right area to post this thread, but perhaps a moderator can move it to a better location?
I was inspired to share this information after seeing the frustration of many members spending way too long cleaning and de-rusting parts whilst restoring their cars. This process is the result of trial and error and simply having a go. 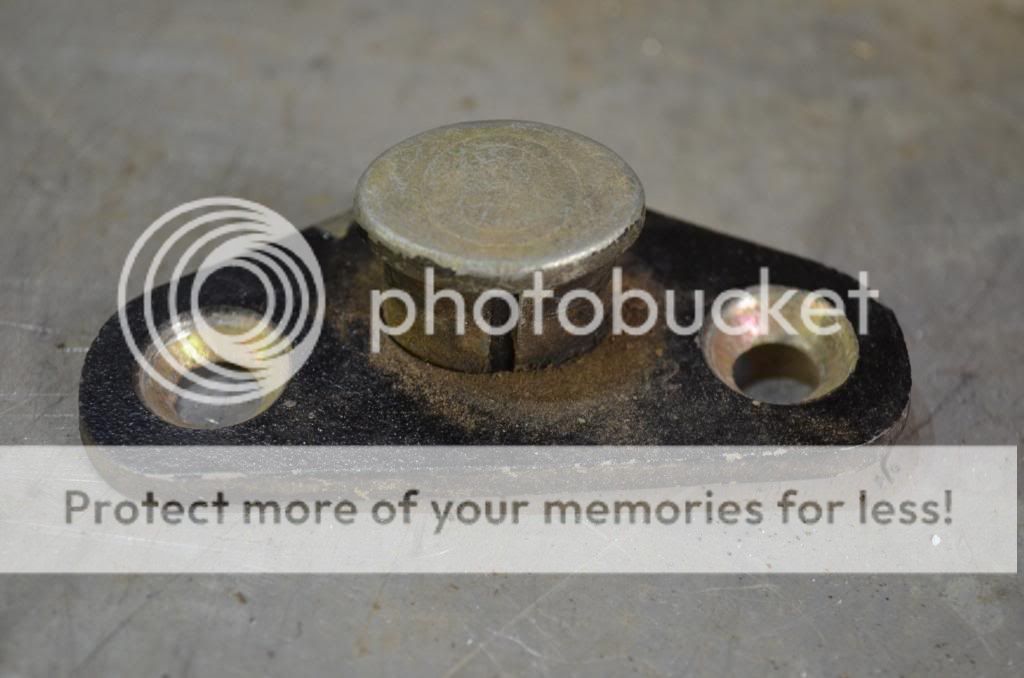 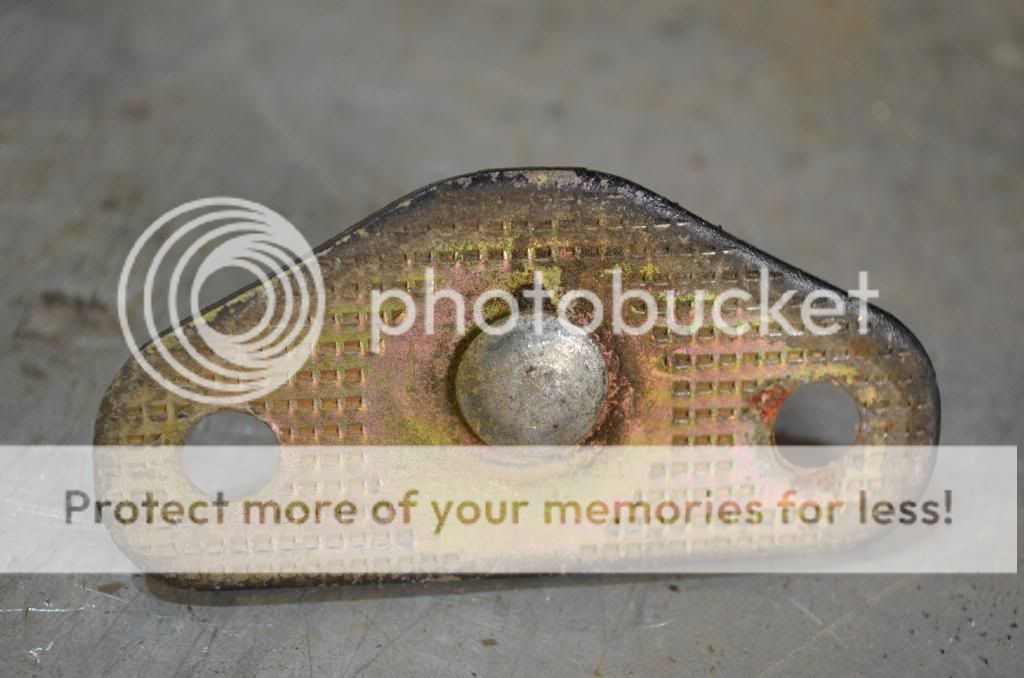 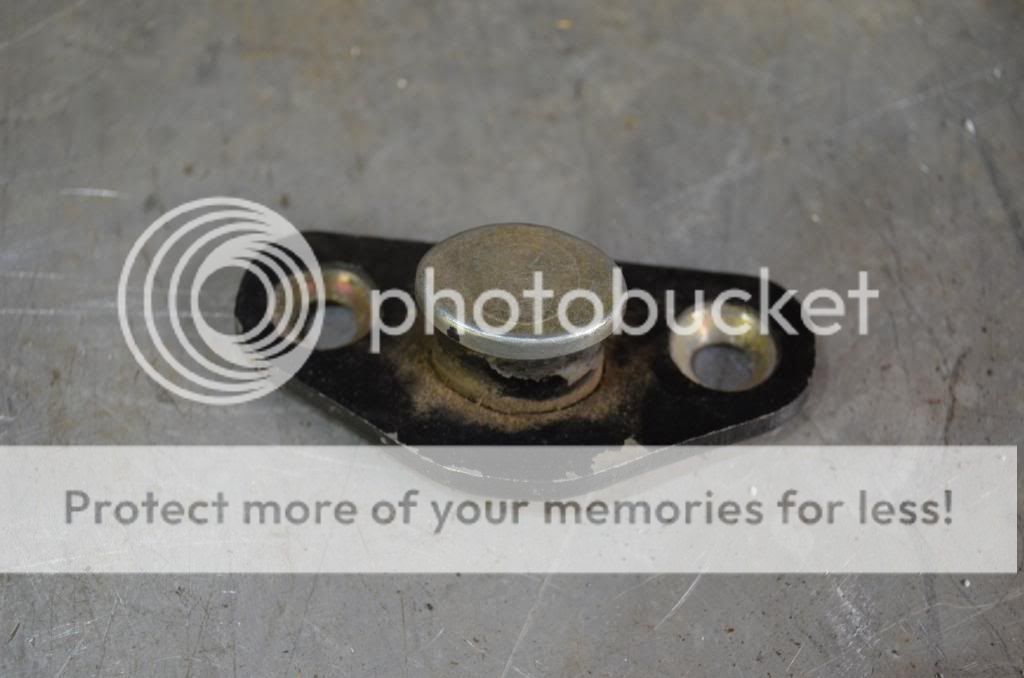 The part in the first three photos should be fairly familiar to anyone of the XA,B,C fraternity (and possibly others). It's a good example of the type of part that can be difficult to clean with a lot of crevices and hard to reach areas. Sure, it's not impossible and will come up quite well with a bit of elbow grease and time but as you will see electro-cleaning makes it quite easy. 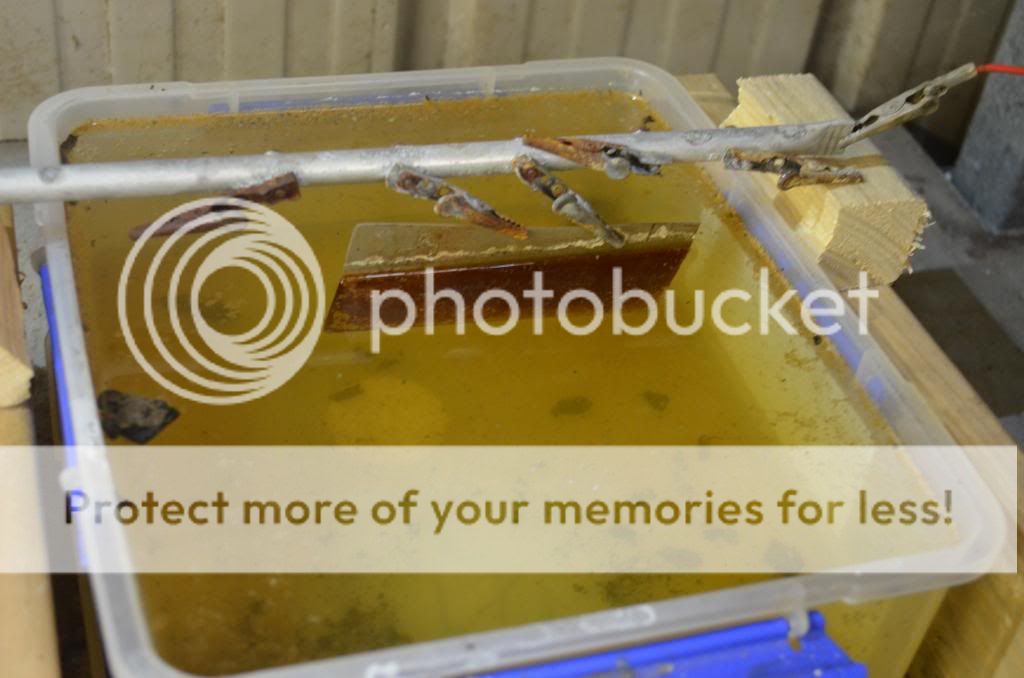 What you will need... firstly you will need a plastic container. I prefer something clear so I can see through the sides but it's not critical. It must be plastic though and something out of the missus tupperware cupboard will usually suffice. 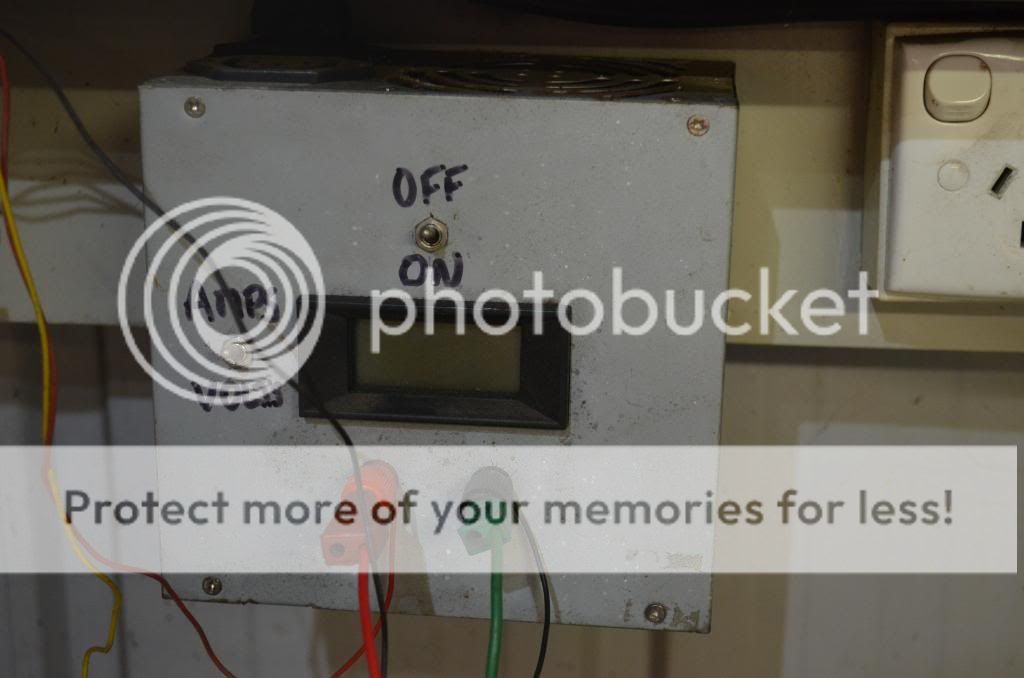 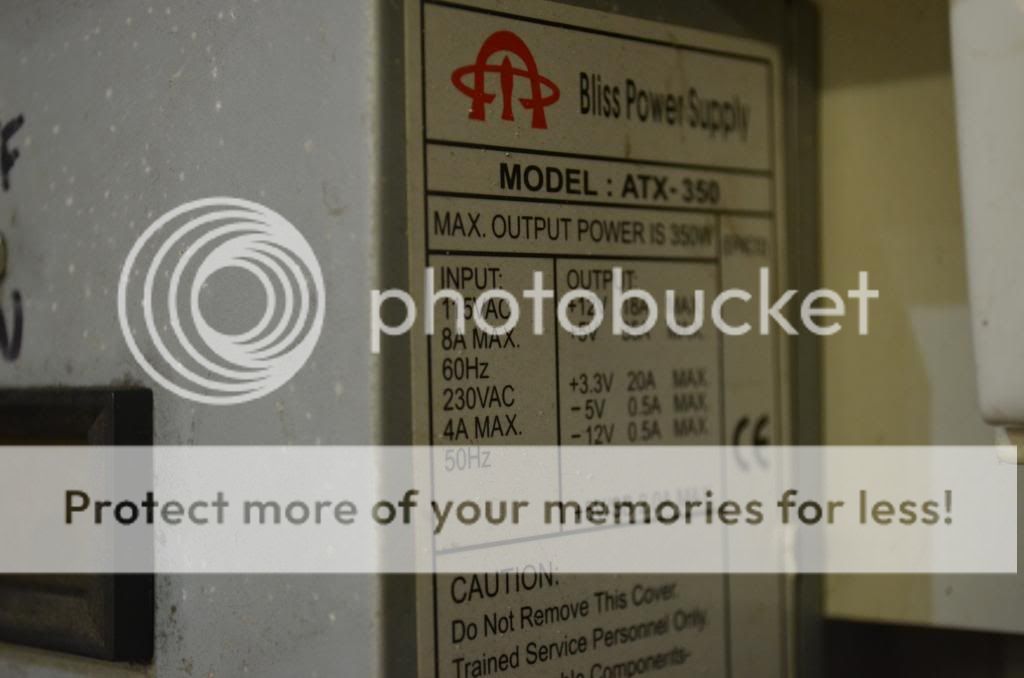 You will also need a DC power supply. I am using an old computer supply as it was cheap, reliable, can supply high current and has short-circuit protection (this just means that you won't stuff it if you accidentally touch the leads together). To get it to work simply join the green wire to any of the black wires and the fan should start spinning indicating that it is working. If you don't have an old computer lying about, go to your local recovery yard and they should have heaps of power supplies for no more than $5 each. I have modified mine to include an on/off switch and an ammeter to measure current and a voltmeter to measure volts, but you don't need to do this. I would not recommend opening the case of one of these supplies unless you know what you are doing... there are nasties inside that could kill you if you are not careful. I am using 12 volts by using the yellow wire for positive and a black wire for negative. Don't be tempted to use a battery charger. Many of these are either pulsating DC or later ones are microprocessor controlled- either way I wouldn't use them. 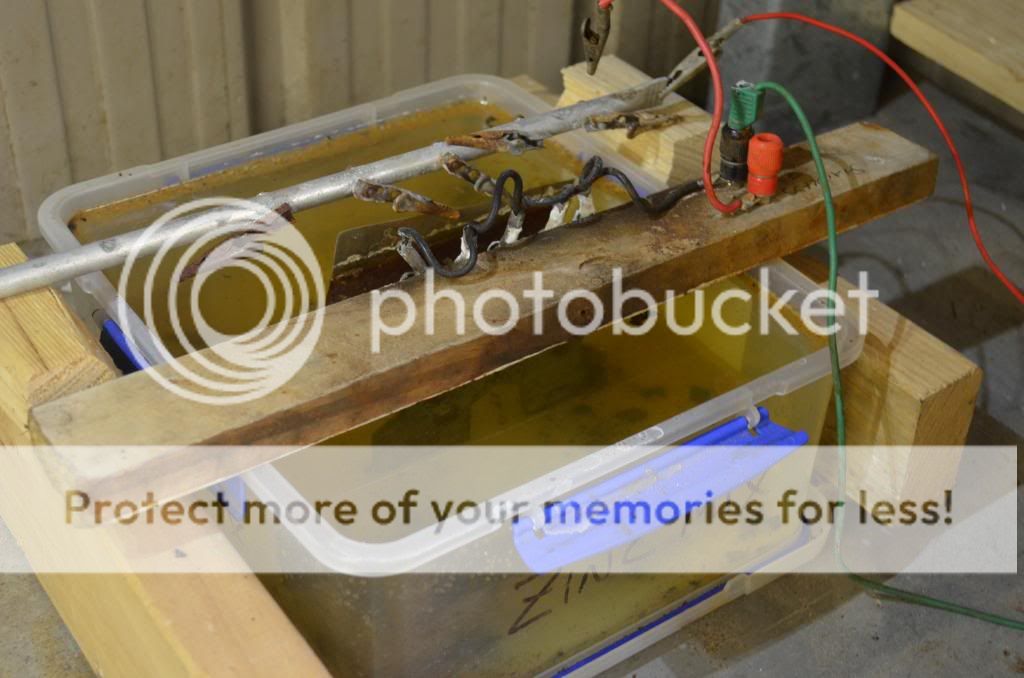 A couple of leads to connect the whole lot together are required as well... I use crocodile clips to make it easy to make a connection to the parts, but you could simply use wire for a start. If you like the process then Jaycar will be able to sell you some for very little cash. 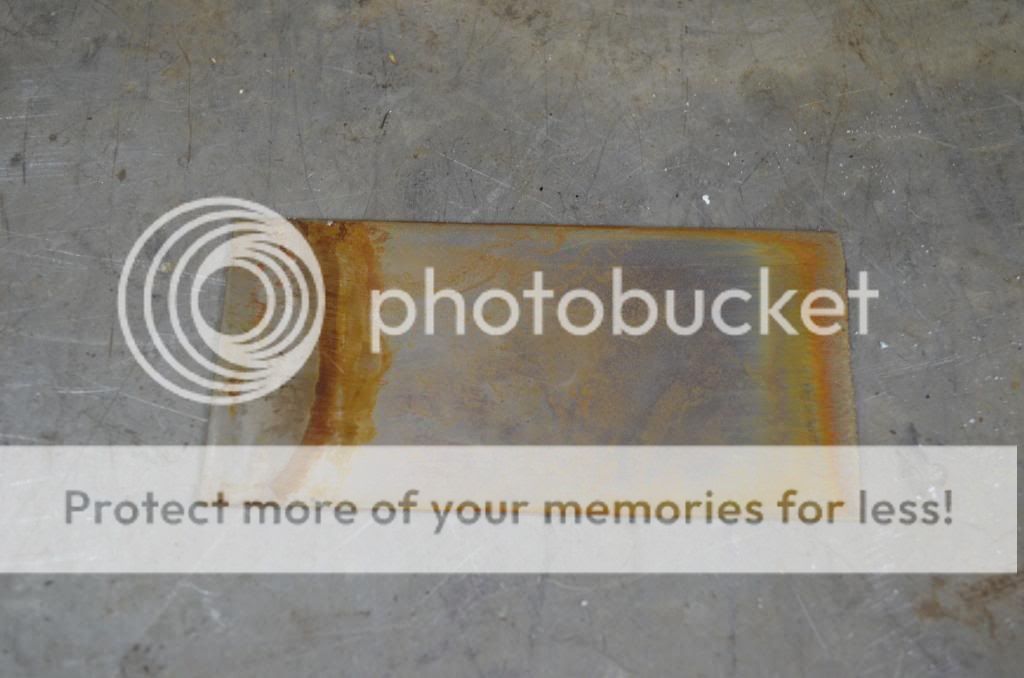 I am using a sheet of stainless steel as the sacrificial anode however, I am told that this can cause nasty chemicals to be given off from the process, so make sure that you do this in a well-ventilated area or use a fan to blow the fumes away and stop them from building up. Another safer option is to use mild steel as the anode... up to you but I like the shine that stainless offers. 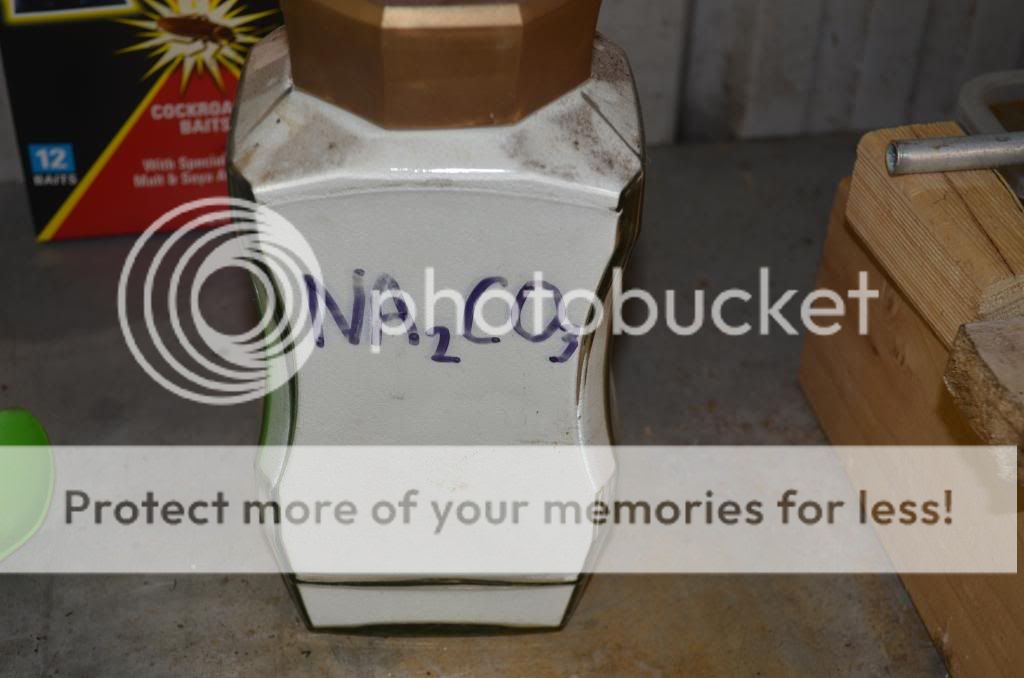 You will also need some Sodium Carbonate (NA2CO3)... not the stuff that's in the fridge as that's Sodium Bi-Carbonate. Your local pool chemical supplier will sell you a bag for about $10 that will be more than you will ever need. For the bath in this thread I used one tablespoon and this bath has done heaps of parts already. The Na2CO3 is simply there to make the water conductive (so electricity will flow through it). Despite what Hollywood would like us to believe, water does not conduct electricity, you need to add impurities to allow this to happen. Simple tap water will do the job. 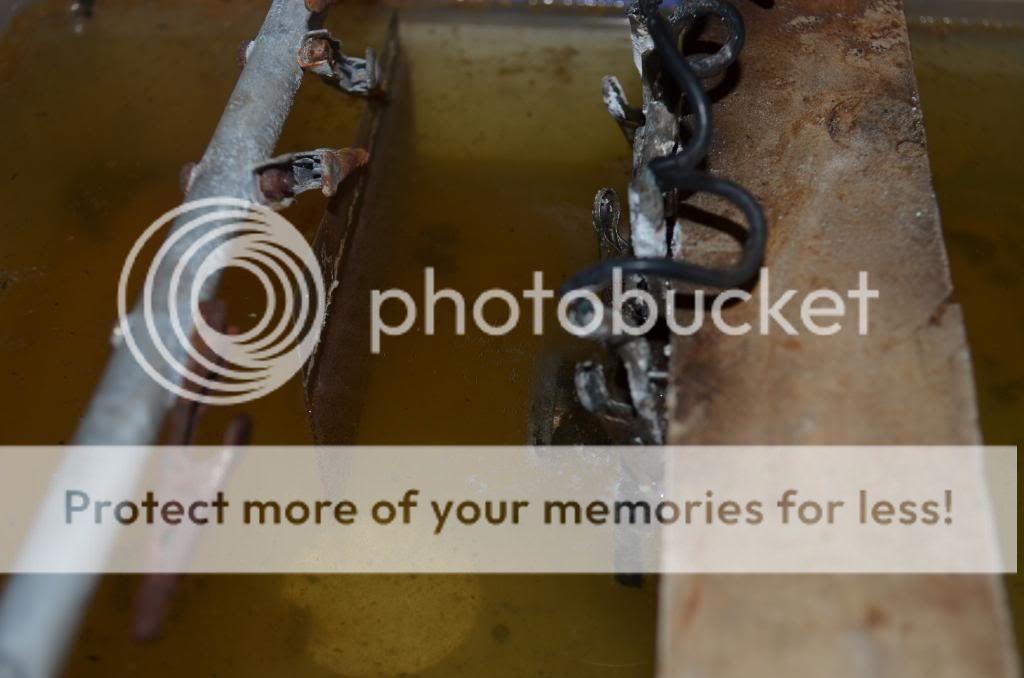 So once you are setup, attach the stainless to the positive or yellow wire and the part that you want to clean to the black or negative wire. Make sure that you have these wires the right way around... get it wrong and you will destroy your part. I would strongly recommend that you start with a part that you don't need, just to make sure that you have got everything right the first time. Also make sure that your wires or clips are not in the bath on the positive side… they will be eaten away. Wires or clips on the negative will simply be plated- not a biggie. Turn on the supply and you should immediately see bubbles forming on both the stainless and the part. If you don't, turn off the supply and check your connections. Make sure that you have stirred the bath and the NA2CO3 has dissolved. Some fumes should also be rising off the bath as well, this is normal. After time you may also see a brown foamy sludge on the surface of the bath… this is just dirt and oils and won’t affect the cleaning. 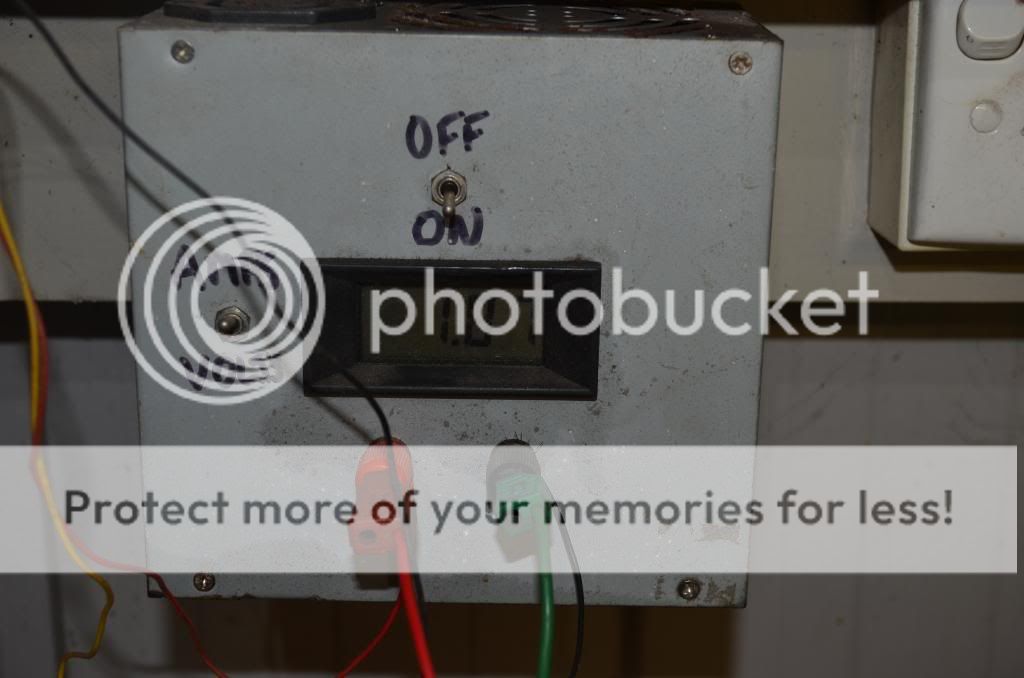 I left the part in the pictures in the bath for about 5 hours but it really does depend on how dirty the part is or how well the paint is sticking. It is not a big deal to leave the part in for longer, it just means that it will be cleaner. I often leave them overnight. The closer you place the part to the stainless the more current it will draw. This is not a big deal as long as your supply can handle it. Mine can deliver up to 18 Amps but I have never needed more than 6A. Too much current can cause your leads to overheat as well. These parts have waited nearly 40 years to be cleaned... a couple of hours more shouldn't be a problem. This part was drawing less than 2 amps at the distance shown. 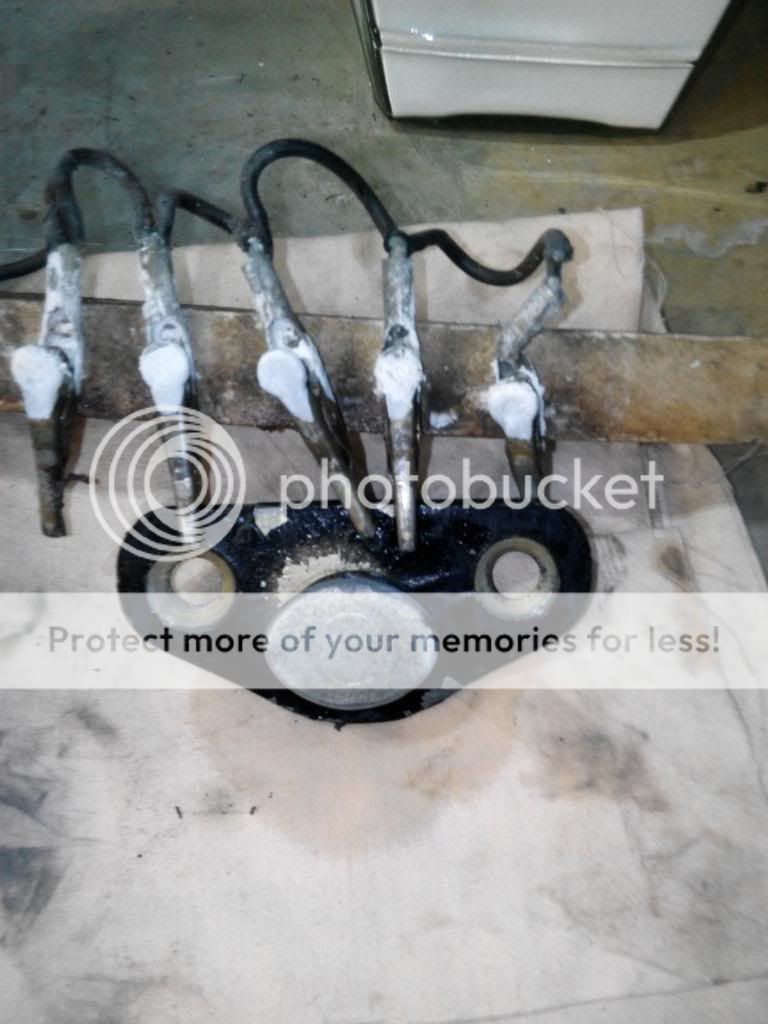 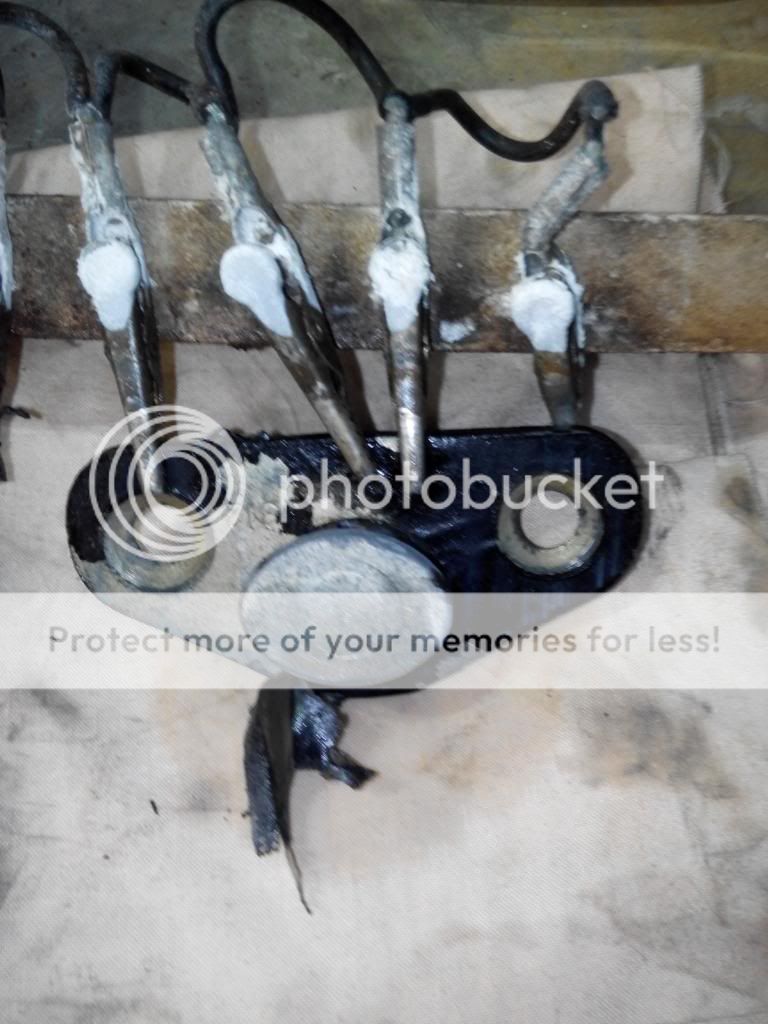 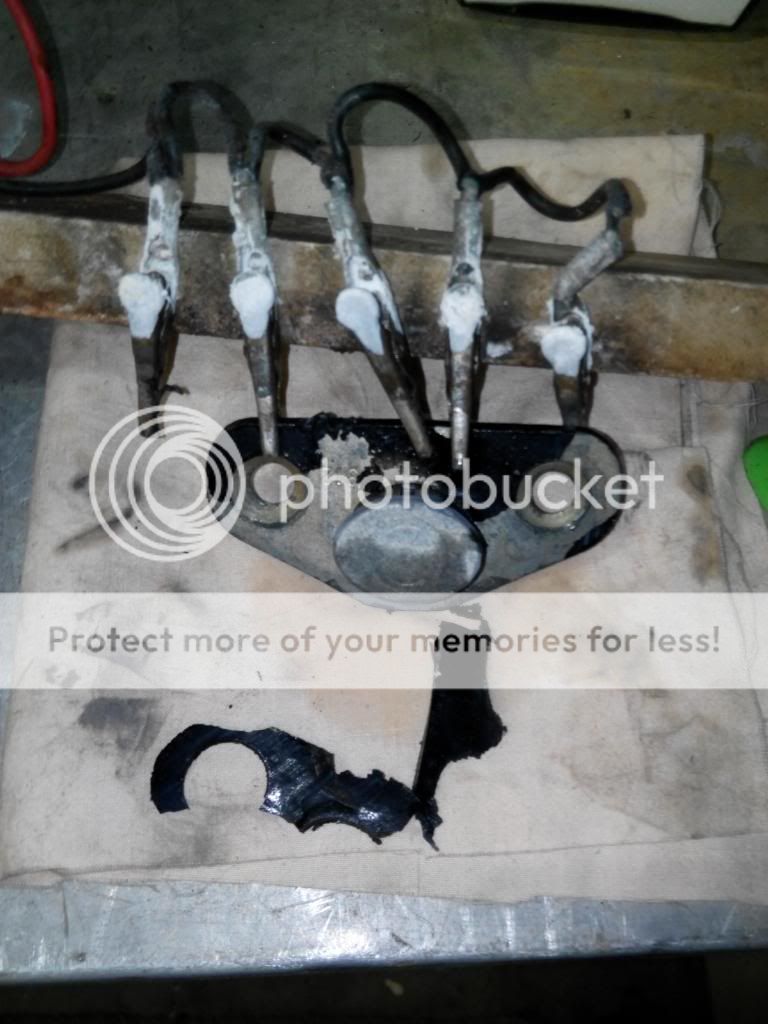 As you can see the paint is peeling off the part and with a scrub with a little wire brush it comes up quite well. It will remove that nasty gold (yellow) coating on the zinc plating as well. 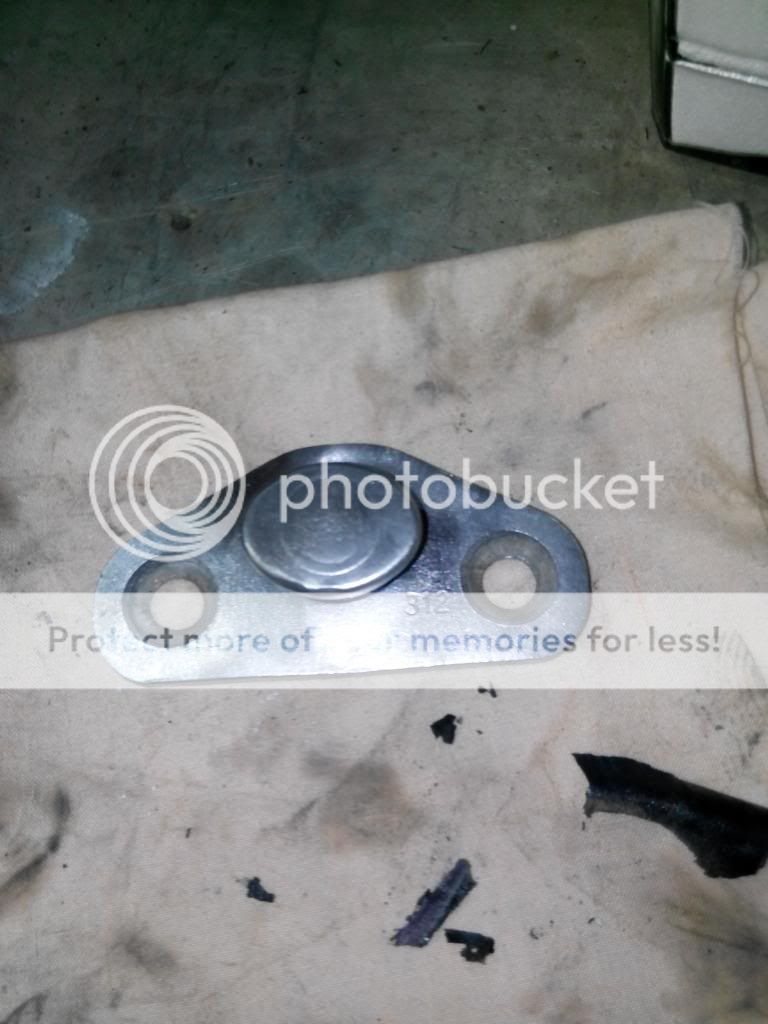 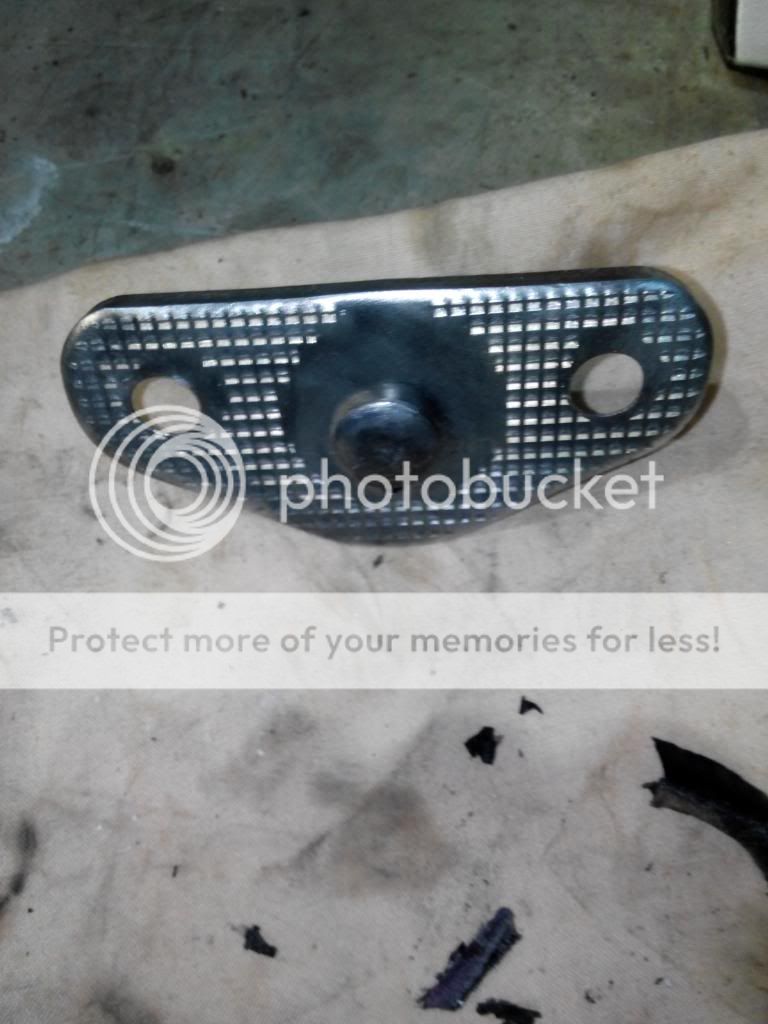 This process is not fool-proof. I am not selling it -just offering it as another tool in your arsenal on rust, dirt, crud and 40 years of paint in you quest to restore these beautiful old cars. Anything that is ferrous (magnetic) can be cleaned this way. Aluminium will definitely not work, it will just destroy the part. Neither will plastic or rubber. I have never tried this on a stainless part as my old girl has no stainless on her. I have had great success using this method on many parts. Try to clean the paint off a pair of bonnet hinges and you will see the benefit. It won’t put steel back where it has rusted away, but it does definitely help. The last photo shows another example of the benefit of this method. 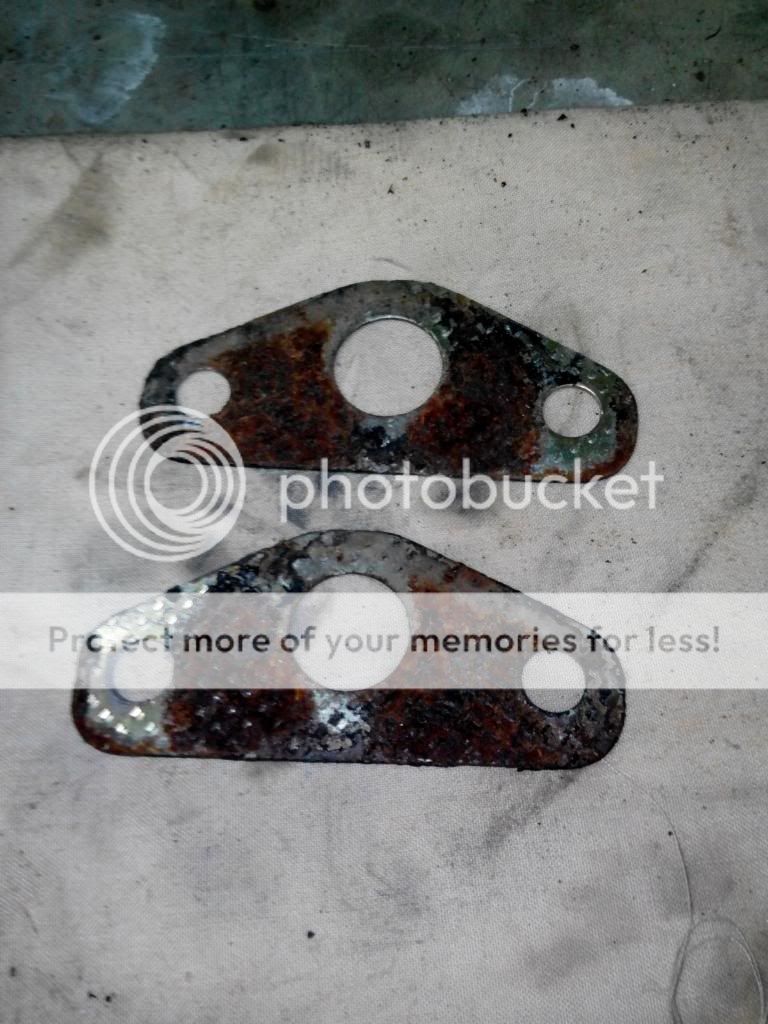 Good luck and enjoy the journey. Cheers, Rod. Last edited by 1972xb; 30-12-2013 at 11:16 PM. |
||
|
|

|
|
|
#2 | |||
|
FF.Com.Au Hardcore
Join Date: Feb 2008
Posts: 2,312
|
brilliant. so you're basically plating it with stainless steel? i'm surprised it took the paint off too.
Quote:
__________________
My ride: 2007 Falcon Ute BF XR8 Orange, MTO. |
|||
|
|

|
|
|
#3 | ||
|
Starter Motor
Join Date: Nov 2011
Posts: 27
|
Yeah, as it attached itself to the metal, it gets under the paint and crud and just lifts it off.
Switch-mode power supplies (PSU's) are the ones that you want to use. Linear supplies are not very efficient and waste a lot of power, especially when delivering the current required for this application. They rarely have short-circuit protection either. The only problem that I have heard of is some of the later, smarter PSU's wont start up until they have a load connected to them but as soon as you connect it they fire up. I also like the fact that if it dies, you just go and get a new one for very little cost- although after a couple of years I am still using my original one. |
||
|
|

|
|
|
#4 | ||
|
FF.Com.Au Hardcore
Join Date: May 2010
Posts: 1,730
|
Great write up - I am a coin collector and a similar process is used as a way to safely clean severely oxidised coinage.
__________________
2011 FG XR6 Sedan |
||
|
|

|
|
|
#5 | ||
|
FF.Com.Au Hardcore
Join Date: Feb 2006
Location: The Nanny State
Posts: 772
|
A very informative post.Well done!
__________________
He who dies with the most toys is still dead |
||
|
|

|
|
|
#6 | ||
|
Starter Motor
Join Date: Nov 2011
Posts: 27
|
|
||
|
|

|
|
|
#7 | ||
|
Regular Member
Join Date: Jul 2005
Posts: 219
|
Thanks 1972XB for this informative post.
I also have discovered this technique last year and since used it extensively for X series suspension parts. I though used an old Arlec battery charger, without incident. It worked a treat however how have you treated the raw metal after cleaning as it starts to rust again immediately after cleaning? I sprayed mine with Inox before I eventually painted them. |
||
|
|

|
|
|
#8 | ||
|
Regular Member
Join Date: Jul 2005
Posts: 219
|
For my larger parts, such as the control arms and struts, I used my 200 litre council supplied recycling bin, my battery jumper leads and some new round rods from my local Mitre 10 as the anode. Perfect. I though needed to leave the parts 48 hours to remove all the paint as well as the rust. Best to check the parts after 12 or 24 hours or so though, in case there are any factory paint or chalk markings under the rust, that you might want to record before they are gone forever.
|
||
|
|

|
|
|
#9 | ||
|
FG XR6 Ute & Sedan
 Join Date: Oct 2006
Location: Bibra Lake WA
Posts: 22,779
|
__________________
regards Blue |
||
|
|

|
|
|
#10 | ||
|
FF.Com.Au Hardcore
Join Date: Feb 2005
Location: In Front of a Monitor
Posts: 1,631
|
Could this be rigged up on a bigger scale to do the whole body shell in a swimming pool?
__________________
2004 Mercury Silver Falcon XR6T - 5 Speed 2017 Platinum White Mustang GT - 6 Speed 2022 Blue Thai-Special for Daily Duties - Auto |
||
|
|

|
| This user likes this post: |
|
|
#11 | ||
|
FF.Com.Au Hardcore
Join Date: Feb 2006
Location: The Nanny State
Posts: 772
|
Or does Tupperware make a Falcontainer?
__________________
He who dies with the most toys is still dead |
||
|
|

|
|
|
#12 | ||
|
I ♥ EDM
 Join Date: Aug 2006
Posts: 5,141
|
Mate, that's a Bliss PSU!
 Couldve used a Shaw instead. Sorry, Im a retro-PC geek 
|
||
|
|

|
|
|
#13 | ||
|
Starter Motor
Join Date: Nov 2011
Posts: 27
|
|
||
|
|

|